Maybe you have noticed drafts in your home in the wintertime, or simply feel like you are spending more to heat your home than necessary. Often, the problem lies in air leaks around the home.
A good way to prevent air leaks is to insulate your attic space, but how do you insulate around a hot furnace exhaust?
Insulating around a furnace exhaust requires adherence to building codes including having an insulation dam between the exhaust pipe and the insulation. Clearance is dependant on whether the vent is of single, double, or triple walled construction.
This article will guide you through the importance of air leak sealing, types of furnace exhausts, and how to properly seal and insulate around them.
Why Should I Insulate Around My Furnace Exhaust?
Reason 1:
When looking for leaks in the thermal boundary, or the perimeter of conditioned dwelling space, one of the worst offenders is the boundary between the home and attic space.
Plumbing, ducts, and vent pipes create holes or chases through which micro-infiltrations of air escape. As warm air rises, the heated air you have paid for is wasted. In fact, as much as 40% of heat loss is due to air leaks, much of which exits through the attic.
By sealing these gaps and air leaks, including the chase around your furnace exhaust, you can drastically reduce the waste, save money, and increase comfort in your home.
Reason 2:
Ice damming is a serious problem that can occur when warm air is present in the attic. What happens is that when warm air enters the attic, it melts the underside of snow on a roof surface.
The melted snow flows down the roof surface until it reaches a cold spot, like the eaves or soffit. Here, it refreezes into a dam that piles up more snow and ice in a continuous cycle. This build-up can damage shingles and cause water leaks into the house.
Although adding insulation to the attic helps this phenomenon from happening, it does not eliminate it. Air leaks allow too much warm air into the attic and must be sealed to mitigate ice damming.
Now that you understand the importance of sealing air leaks and insulating your attic space, let’s look at the steps required to do this safely. There are some important do’s and don’ts depending on your furnace vent pipe.
Types of Furnace Exhausts
Furnace vent pipes can be constructed in three ways and require different clearances:
- Single-Walled (only in older systems): Single-walled vents are constructed of only 1 layer of metal. You must have a 6-inch clearance between single-walled vents and any combustible material, such as insulation.
- Double-Walled, commonly Type-B: This is the most common vent style found on furnaces. A double-wall or dual vent pipe consists of 2 layers of metal and requires a 1-inch clearance.
- Triple-Walled: Triple-walled, obviously enough, consists of 3 pieces of metal and requires zero clearance.
If you are unsure what vent pipe your furnace uses, check the manufacturer’s specs. Unless your furnace is older than the 1980s, you are probably dealing with double-walled vent piping.
Step-by-Step Guide to Sealing Furnace Vent Pipe
Before you can insulate your attic, you need to properly seal the chase for the furnace vent pipe. The chase is simply the large hole cut through the floor in order to run the vent into the attic. Here’s how to do it:
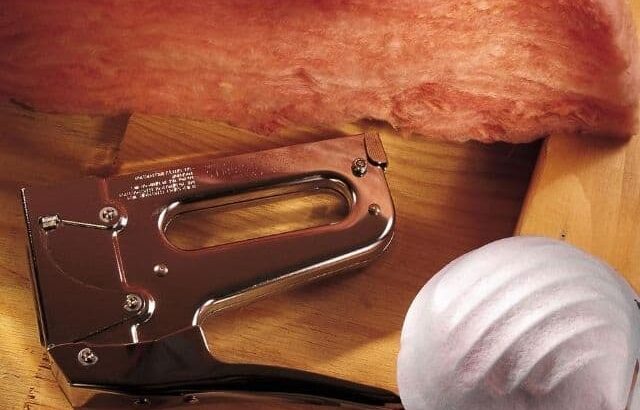
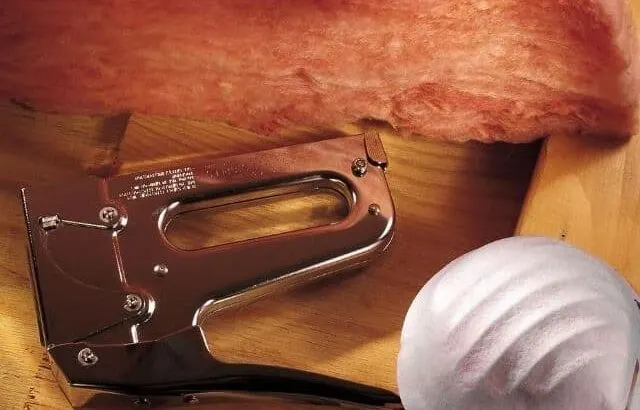
Gather your materials and prepare the space:
- Flashlight or other lighting
- Knee-pads
- Gloves, face mask, full-length clothing—insulation and attic work are dirty and itchy
- Sheet Metal Scissors
- High Temp/heat resistant caulk: Rutland Products High Heat Silicone Seal (link to Amazon) is a good choice. It is rated for temperatures up to 500 degrees.
- Roll of 14-inch wide aluminum flashing
- Boards as needed to create working space—only step on rafters or cross boards placed as runways
Using the sheet metal scissors, cut aluminum flashing off the roll to fit around the flue. For round flues, cut 2 half circles so you can overlap about 3 inches in the middle.
If there is wood flooring, lay a bead of high-temperature caulk on the floor and press the flashing metal into it.
Staple or nail the flashing into place to the wood flooring.
Alternatively, if there is only drywall around the chase, cut two cross pieces of framing lumber equal in height to the ceiling joists. Fasten wood cross pieces to joists keeping at least 3 inches of clearance to the pipe. Caulk this wood blocking to the framing (Source).
Now you can attach the flashing circle to the perimeter of the square you have created around the flue, with caulk and staples or nails.
Seal the gap between the flue and metal flashing with a high-temperature caulk.
Warning: Do not use spray foam for any of the joints near a vent pipe. Always use fire-resistant caulking.
Now, you must form an insulation dam to prevent insulation from contacting the flue pipe. To do this:
- Cut enough aluminum flashing from the roll to wrap around the vent pipe, with an extra 6 inches to spare.
- Unwrap the flashing from the vent pipe so you can work with it.
- Cut 1-inch deep slots a few inches apart along the top side.
- Bend these newly cut tabs in.
- Now, cut 2-inch deep slots along the bottom and bend these tabs out.
- Wrap the dam around the flue again.
- Secure the bottom tabs to the floor with high temperature caulking and staples.
- The top tabs should keep a one-inch gap between the aluminum flashing dam and the vent pipe.
Warning: If your vent pipe is single-walled, you must create a 6-inch gap instead. Use a longer piece of aluminum sheeting so you can create a larger perimeter.
Insulating Around a Furnace Exhaust Pipe
Now that you have safely sealed the air leaks around the furnace exhaust, you can work on insulating your attic space.
Warning: fiberglass insulation cannot just butt up to the vent pipe, touching it. Although fiberglass may not burn, it can melt contribute to a fire and the speed at which it spreads. That is why it is so important to build the barrier of aluminum flashing. For more information, see Can Fiberglass Insulation Catch Fire? Know The Facts.
Insulation can be added right up to the barrier, however. Make sure to leave 4 inches to the top of the dam—insulation height should be lower than the dam.
Otherwise, for best energy efficiency and cost-effectiveness, insulation should fully cover the floor joists and be evenly distributed across the span of the attic.
The recommended depth for attic insulation is usually 10-14 inches (source). If you have used a 14-inch flashing around the vent pipe, it should be easy to insulate to this level while still maintaining a 4-inch gap at the top.
Special Case: High-Efficiency Furnaces
Newer, high-efficiency furnaces do not always have vent pipes that exit through the attic space. New high-efficiency Furnaces can have efficiency of about 95 percent, a huge savings for your wallet.
If you are unsure if you have this style, the big clue is in the venting. If the flue is made of PVC pipe, you have a high-efficiency furnace, also called a condensing furnace. Low flue-gas temperatures allow for PVC flues instead of metal.
Because so much heat is removed from the gases and used to heat your home (hence the high-efficiency rating), it cannot rely on natural draft to exhaust flue gases through a vent. It must use a power-driven fan to force the gases out of the furnace and flue.
Most use a small fan to exhaust gases outside, eliminating the need for a chimney-style flue vent. Some slightly less efficient furnaces still use metal piping, but the most efficient models use plastic (source).
So why does this matter?
Well, even plastic exhaust pipes can create chases that allow air leaks to infiltrate your home. Check all vent connections that exit your home envelope, which is often through the sidewall in high-efficiency furnaces.
Use high-temperature caulk or expanding spray foam (okay against PVC vents) to seal any gaps found around these areas, too.
Conclusion
By properly sealing your home against air leaks, you can improve your home energy efficiency by as much as 40%. Since furnace exhaust vent pipes are a prime suspect for air leaks around the chases, sealing around them before insulating can great reduce infiltration and wasted heat.
To safely insulate your furnace exhaust, always use high-temperature caulking, do not allow insulation to touch the vent by creating a dam first, and be sure you know what kind of vent pipe you are dealing with.
Once you have completed these steps, you can rest assured your attic will be better sealed against heat loss and also be safe from potential fires that could happen from dangerous practices.
Related Articles:
- Can Fiberglass Insulation Touch Ductwork? Key Considerations
- Why Is My Furnace Buzzing? Causes And What To Do
- Furnace Flame Goes Out When Blower Comes On
Assess the efficiency of your home with our Free DIY Home Energy Audit.
As a homeowner, I am constantly experimenting with making the structure of my house more energy-efficient, eliminating pests, and taking on DIY home improvement projects. Over the past two decades, my family has rehabbed houses and contracted new home builds and I’ve learned a lot along the way. I share my hard-learned lessons so that you can save time and money by not repeating my mistakes.
Leave a comment
You must be logged in to post a comment.