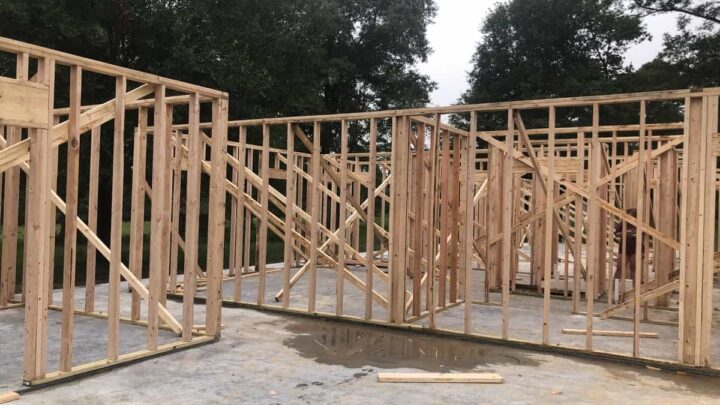

If you have an old house or plan to partition your garage, you might find the floor is not perfectly even. Although it does make the process of framing a wall a bit more complicated, it is possible to do it yourself, taking into account the sloping floor surface.
To frame a wall on a sloped floor, follow these 5 steps:
- Measure and locate your new wall position.
- Set the floor plates.
- Set the ceiling plates.
- Measure out each individual wall stud.
- Attach your wall studs to the floor and ceiling plates.
Although the internet abounds with quick fixes for uneven floor wall framing, if you are a beginner, it’s best to follow the simple process of measuring out each of your wall studs individually. Here are five easy-to-follow steps to ensure your new wall is set flush against the ceiling despite your uneven floor.
1. Measure and Locate Your New Wall Position
The best frame location is perpendicular to your existing floor and ceiling joists. If you plan to run parallel to the joists, be sure to install blocking between the ceiling joists. You should ensure that your new wall is a partition and not a load-bearing wall, which requires a professional to ensure proper placement and weight distribution.
Your chalk line is a way to guide your construction to locate where you will place your new wall. The line should start at the studs of your existing walls and end on the opposite wall. You should then snap lines diagonally from this line to each corner of the room and ensure that each end of your wall is the same distance from the parallel walls (source).
2. Set the Floor Plates
It’s best first to set your floor and ceiling plates when your floor is uneven. Cut a 2-by-4 to fit your chalk wall measurement and attach the board you will use as the floor plate with 16d nails evenly spaced as two per floor joist. If your wall runs parallel to the joists, fix the nails through the board into the subfloor every 12 to 16 inches (30.48cm-40.64cm.)
Ensure that you measure your studs from the stud center when measuring your 16-inch (40.6 cm) distances. Note that a 2-by-4 is not actually two inches by four inches (5.08 by 10.15 cm), and measure your center correctly between studs.
As 2-by-4s are an inch and a half wide, you need to measure back 0.75 (1.91 cm) inch to reach the stud’s proper halfway mark or center. Make a mark by drawing an X 16 inches (40.6 cm) from the frame end and then subtract 3.75 inches (9.53 cm) from the X and draw a line. X will mark the center point of your stud.
3. Set the Ceiling Plates
Use a laser level to align your ceiling plate directly over your floor plate, or you could use a line level with a string line if you don’t have a laser. For parallel joists, attach lengths of 2-by-4 blocking board perpendicular between each joist at 16 inches (40.64 cm) and attach the top plate to these blocks.
For perpendicular joists, attach the ceiling plate using the joists and a plumb bob to align the top and bottom plates properly. Alternatively, you could build the wall first and then stand it up, which is sometimes easier for nonprofessionals.
An easy way to mark out your stud placement on your ceiling plate is by laying it against your floor plate and marking out your stud lines on both plates using a measuring tape, straight edge, and a pencil. Attach the ceiling plate using the same nailing pattern as the floor plate (source).

4. Measure Out Each Individual Wall Stud
Once you have attached your ceiling and floor plates, you will need to measure each stud individually to account for your uneven floor surface. The best way to do this is using a simple string line level. Just make sure you have the string pulled tight. Then you can find the different lengths of the studs.
This is single most important factor to building on a sloped floor. Every stud is going to be slightly different in length and you’ll want to make sure you are measuring and cutting each one to account for the slope.
5. Attach Your Wall Studs to the Floor and Ceiling Plates
The most common way to attach studs to the plates is to use the toenailing method with 16d nails. Insert the stud by sliding its end between the two plates right over one of the nails on the soleplate. Use a plumb bob and a corner to ensure the board is straight and squared.
Framing the wall on the floor instead of in position makes connecting the wall studs to the plates easier. When the frame is flat on the floor, you can hammer in two 16d nails through the plates up into the ends of the studs rather than toenailing in the studs, which may be tricky for beginners when they frame the wall in position.
Common Mistakes in Framing a Wall on a Sloped Floor
- Ensure that the wall you intend to frame is not a load-bearing wall. If the wall is load-bearing, you will need to ensure professional placement and load-bearing distribution.
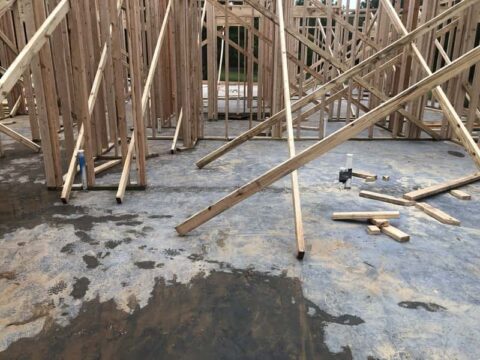
- According to the building code, you will need pressure-treated lumber if you are framing a wall on a concrete floor.
- Treated timber contains a copper-based preservative which is corrosive to standard framing nails, so ensure you use galvanized or stainless steel nails.
- When securing the bottom plates of the walls to the floor, ensure you nail into the floor joists below as expansion and contraction may cause the wall to lift if it is not adequately secured.
- When assembling walls on the ground, keep the crown side up and aligned in the same direction. The crown is a hump on the stud when you look down its length.
Final Thoughts
A sloping or uneven floor may be a challenge, but proper method and measurement will ensure you can successfully frame your interior wall. If you take the time to ensure correct spacing and alignment, you can trim your shims to fit your floor without the risk of costly do-overs.
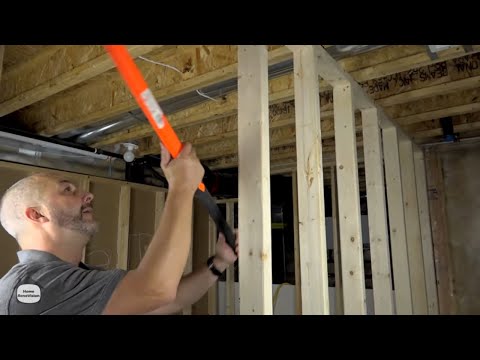
Here is an engaging Youtube clip from DIY HomeRenosion for a look at wall framing in action:
Recommended Reading:
- Is Framing a House Hard? 7 Things To Know
- How Long Should a Concrete Slab Cure Before Framing?
- Is it Cheaper to Build up or Out? Construction Framing Costs
As a homeowner, I am constantly experimenting with making the structure of my house more energy-efficient, eliminating pests, and taking on DIY home improvement projects. Over the past two decades, my family has rehabbed houses and contracted new home builds and I’ve learned a lot along the way. I share my hard-learned lessons so that you can save time and money by not repeating my mistakes.