While new home buying can be an incredibly exciting and rewarding experience, it can also bring a lot of stress and confusion. This is especially true of moving into a property that isn’t as nice and problem-free as you first imagined. For example, if you move in and find “new tenants” in your insulation, it can be terribly frustrating, especially when you’re tasked with removing said insulation.
Here are the most important steps when removing insulation from a basement ceiling:
- Make sure removing the insulation is the best decision.
- Get the proper supplies.
- Remove any obstacles that might get in your way.
- Remove the insulation in each part of your basement ceiling.
- Aerate the area from which you’re removing the insulation.
- Dispose of materials in compliance with local law.
Removing insulation can be tough work, and it has some dangers associated with it. If you decide that you want to remove your own insulation, it is important you follow each step closely. Let’s take a deeper look at each of the steps for removing insulation from a basement ceiling.
1. Make Sure Removing the Insulation Is the Best Decision
While “Do It Yourself” home improvement projects are becoming increasingly common because of the accessibility of information on how to do them, many are a much bigger endeavor than some people might think.
When removing insulation from your basement ceiling, you need to understand why you are removing it. Here are the three biggest reasons to remove insulation:
- The insulation has become infested: If the insulation in your basement has become infested with rodents, bugs, or other critters, it is important to remove it. Not only are these animals unsanitary, but insulation can become a breeding ground for them to multiply and spread throughout your house.
- The insulation has become wet: If the insulation in your basement has become wet, it is important that you remove it before any mold grows. Not only does wet insulation not do the job it was designed to do, but the mold that grows on it is notorious for causing health problems.
- The insulation is damaged or old: If the insulation in your basement is damaged or just too old, it can’t do its job of limiting sound or trapping heat. If these are concerns of yours, replacing the insulation is the best decision.
2. Get the Proper Supplies
Insulation lasts anywhere between 15 and 80 years, assuming it is not damaged along the way. This means that, because of its age, insulation is often mixed with a lot of dirt, dust, and sometimes mold.
On top of that, some insulation is made from fiberglass, a material that often does not mix well with people. For that reason, it is important to have the proper safety supplies.
When removing insulation, it’s important to have the right safety equipment:
- A set of goggles or other kinds of eye protection
- A good mask
- A decent set of gloves.
Some people go so far as to get a painter’s suit that they can simply throw away after use so that they don’t get any of the materials on their clothes.
While that isn’t always necessary, we do recommend getting at least a mask, gloves, and some large trash bags to dispose of the materials (source)!
3. Remove Any Obstacles That Might Get in Your Way
When it comes to removing insulation from a ceiling, often there are some obstacles that might impede the removal process. Some ceilings have wooden planks or metal bars that hold the insulation in place. Be sure to remove these before trying to take out any insulation.
Also, because of all of the dust, dirt, mold, and fiberglass mixed into your insulation, you might want to remove objects from the room that you wouldn’t want these materials to get on. If you have a nice couch, a cushioned chair, or even a carpet you don’t want to see damaged, it is best to remove them.
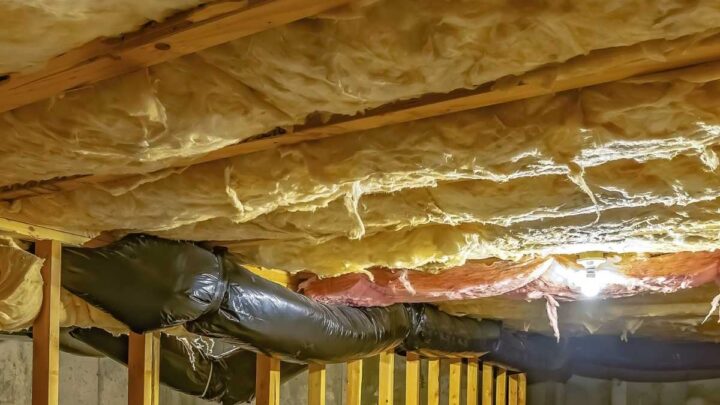
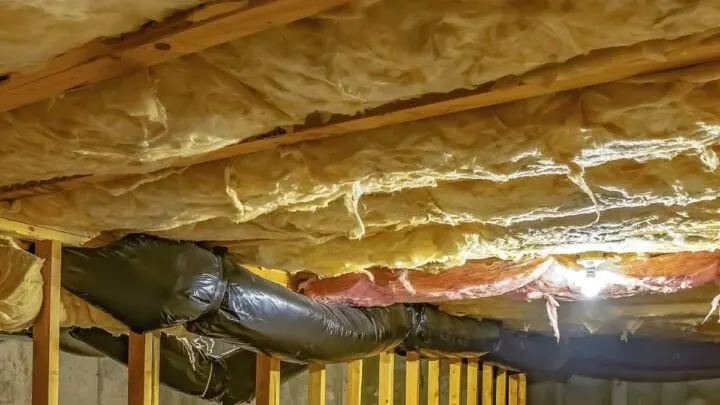
4. Remove the Insulation in Each Part of Your Basement Ceiling
When removing insulation from the ceiling, some people like to use their gloved hands, while others prefer a vacuum to suck all the insulation up easily. Whichever you decide you want to do is fine, but it is important to make sure you get every bit of insulation so that you don’t have any leftovers.
This means checking to make sure you didn’t accidentally leave any in a small hole or crevice (source)!
5. Aerate the Area From Which You’re Removing the Insulation
After removing all of the insulation from your basement ceiling, you are going to want to open windows, doors, or even bring in a fan to help aerate the area.
After all of the dust, dirt, and fiberglass that has been moved around (probably for the first time in years), you want to make sure you have fresh air flowing in the area so those particles don’t stick around.
Plus, making sure you get some fresh air after working with those particles is crucial! Take a break, breathe the fresh air, and drink some water before going back to work in the same area or on other projects.
6. Dispose of Materials In Compliance With Local Law
Depending on the municipality in which you live, different materials need to be disposed of in different ways. Construction material, such as insulation, often needs to be disposed of separately from other trash and garbage.
Make sure when you dispose of your old insulation, you do it in a way that complies with local code.
Final Thoughts
Removing insulation from a basement is hard work. When doing so, it is important that you are doing it for the right reasons, and that you are doing it in a way that will prevent further issues and keep you safe.
Though not that difficult to do, removing insulation, because of the materials required, can be dangerous. Make sure that before you begin, you have the safety gear necessary to make sure your project is a success!
Recommended Reading:
- Why Does Insulation Turn Black? [Moisture Warning!]
- What is the Building Envelope & How Does it Affect Insulation?
As a homeowner, I am constantly experimenting with making the structure of my house more energy-efficient, eliminating pests, and taking on DIY home improvement projects. Over the past two decades, my family has rehabbed houses and contracted new home builds and I’ve learned a lot along the way. I share my hard-learned lessons so that you can save time and money by not repeating my mistakes.