
Improving the energy efficiency of your home is not about any single magic bullet solution. It requires taking a comprehensive look at the energy losses occurring throughout your home and tackling them one by one. An often overlooked opportunity for energy savings is learning to properly seal around air vents.
Air-sealing is a critical part of creating an energy-efficient thermal envelope in your home. You stand to save 10-20% in energy costs through air-sealing. Air vents are a great place to get started!
It’s important to understand that we are not talking about closing off air vents. We are focusing on air-sealing the cracks and seams between the vent ducting and the Sheetrock. Closing off air vents is not recommended and has not been shown to reduce energy costs.
There’s a simple but critical two-step process to do this.
To properly seal around air vents, apply caulk or expanding foam between the ducting and the sheetrock. The goal is to prevent conditioned air from escaping or unconditioned air from entering the thermal envelope. Next, apply weather stripping around the underside of the vent cover. This will further improve efficiency and prevent energy losses.
Let’s have a quick look at this simple yet effect energy savings solution.
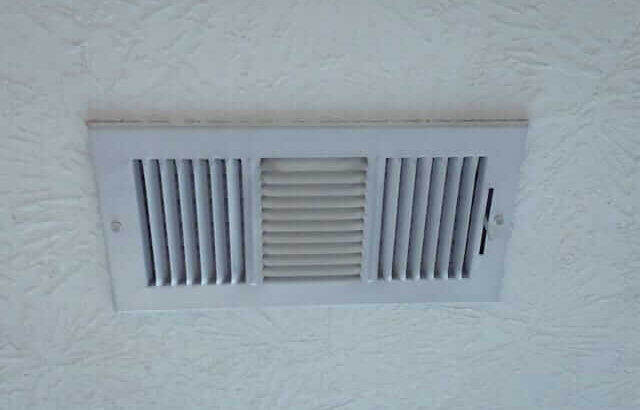
Why Bother Sealing Air Vents?
It’s important to understand that the efficiency of your home is dependant on its ability to keep conditioned air in a closed space. Consider how inefficient it would be to run an air conditioner with the windows open.
While this is an obvious issue, most people overlook the small but numerous cracks that exist throughout their home. These cracks allow conditioned air to leak out and unconditioned air to infiltrate in. This is one of many ways that energy is wasted in the home.

Air traveling through a ducting system moves very efficiently until it hits resistance. The vent cover has a level of resistance as it forces the air out through the slits in the vent. When this air meets resistance, it can be forced out through other openings.
Spaces between the ducting and sheetrock allow this conditioned air to seep right into the attic, wasting energy and reducing the efficiency of your heating and cooling system.
We want to take two simple steps to eliminate that air leakage. Ready to get started? Great! Let’s get started sealing air vents!
Step 1 – Caulk or foam seal cracks
Once you have removed the vent cover, you will likely find that the home builder failed to seal the gap between the sheetrock and the ducting. Air-sealing a home is not part of the building process for many contractors and unless the owner specifically requested it, this process is generally skipped.
All we are going to do is run a thin bead of caulk between the ducting and the sheetrock. If the crack is very large, you may need to use an expanding foam like Great Stuff.
I would be cautious with this approach, however, as expanding foam can be messy and once it gets on your sheetrock it can be very difficult to remove.
With this step completed, you have already significantly improved the energy efficiency of this vent. But there’s one more step we can take to further prevent energy loss.
Step 2 – Apply Insulating Strip Around Inside Of Vent Cover
Even if the vents have already been caulked (and in most cases, they have not), this is the part that most builders and homeowners miss. By applying thin weatherstripping to the edges of the underside of the vent, you further reduce air-infiltration and create a more energy-efficient enclosure.
Remember, our goal is twofold. We want to eliminate unconditioned air from coming into the house and prevent conditioned air from escaping.
At the same time, by applying weather stripping around the inside of the vent cover, we are further directing air from the ducting system through the vents as intended. This means we actually stand to improve the efficiency of the HVAC system in cooling and heating the home.
It’s a minor detail, but details matter! If we are going to seal air vents, let’s do it correctly.
I like this 1/4 Inch Wide X 1/8 Inch thick foam with adhesive on one side on Amazon. It compresses easily as I replace the vent. I’m confident that it is providing an additional layer of air-leak protection.
I have seen some people caulk around the outside of the air vent but I do not recommend this. It does improve your air-sealing but if you ever have to remove the vent you will likely mess up your sheetrock.
Using a pair of scissors or an Exacto knife, measure and cut each strip and apply to the underside of the vent cover. Do your best to butt the edges to prevent air leakage.
That’s it! You can now replace the vent cover knowing that you have just made your home a little more energy efficient. Move on to the next air vent and repeat these steps.
Conclusion
Sealing air vents may seem trivial, but the truth is that creating an energy-efficient home is about obsessing over the details a little. It’s about taking the time to seal those small cracks that the majority of homeowners never bother with.
Proper air-sealing of your home’s thermal envelope is an important step to ensuring energy efficiency.
If you have the caulk but don’t want to bother with the weather stripping at this time, you should still seal between the ducting and sheetrock.
You can always come back and add the weather stripping later but don’t totally blow off this opportunity to save on energy costs and improve efficiency in your home. Doing something is always better than doing nothing.
Want to learn more about making your home energy efficient through air-sealing? Read Common Questions On Air-Sealing A Home.
If you are really ready to take your energy savings to the next level, have a look at how you can conduct your own free home energy audit using my guide and downloadable worksheet.
As a homeowner, I am constantly experimenting with making the structure of my house more energy-efficient, eliminating pests, and taking on DIY home improvement projects. Over the past two decades, my family has rehabbed houses and contracted new home builds and I’ve learned a lot along the way. I share my hard-learned lessons so that you can save time and money by not repeating my mistakes.
Leave a comment
You must be logged in to post a comment.