
When my family was building a new house, I was concerned with a low area in the front yard where water did not drain. If you have standing water in your yard I can tell you I considered a lot of options but finally settled on using the EZ Drain French Drain system. I have no regrets!
The steps to getting rid of standing water using the EZ Drain system are simple:
- Identify low areas
- Find a lower grade to drain to
- Check for underground utilities
- Trench with the grade
- Install EZ Drain French Drain piping
- Cover and enjoy the end of standing water!
Let’s walk through this process and see just how simple the EZ Drain system is compared to traditional French drain solutions.
An Informed Decision
I have installed french drains using the more traditional approach and using the new EZ Drain systems. I’ll share experiences and pictures from each of these endeavors and outline the key advantages that I have found in using the EZ Drain system.
Identify Low Areas
It’s important to understand that low areas in your yard are more than just an eye-sore. Standing water can allow the growth of bacteria and mosquitos. Finding these low areas are generally pretty easy once a good rain hits them. If the water does tend to eventually reside, however, it’s a good idea to mark them with bright paint or marking flags like these.
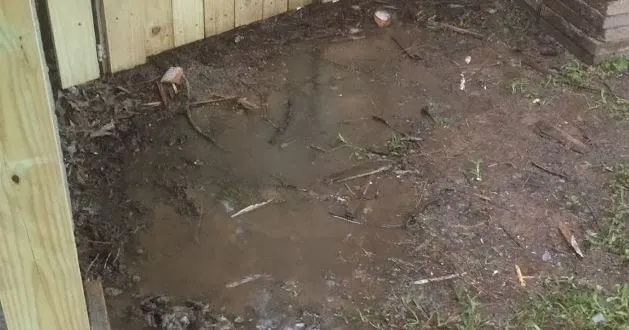
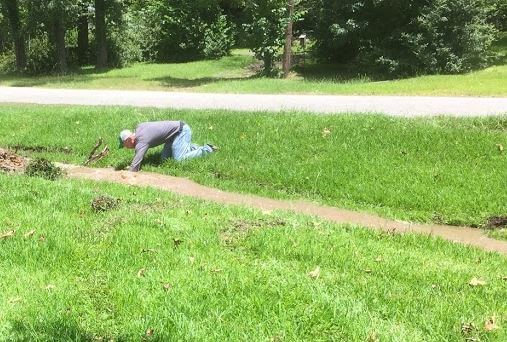
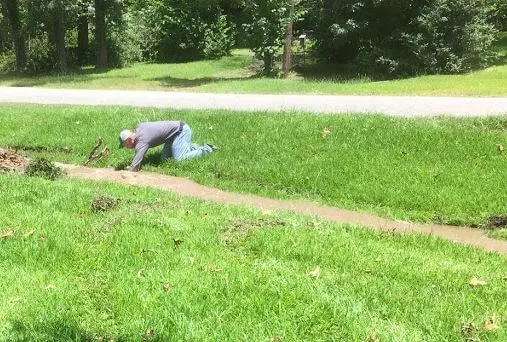
Below is a picture of standing water that we dealt with at a rental house. The low spot was essentially a bowl and offered nowhere for the water to drain. Water also stood along the front porch.

Find A Lower Grade To Drain To
Once you have found and marked the areas you need to address, it’s time to figure out where you can drain that standing water. If your yard has a visible incline or nearby ditch, this may be easy to determine.
If not, there are tools that can be used to give you precision measurements. I purchased this Builder’s Level Package that comes with a tripod, measuring stick and level.
A cheaper but much less accurate solution would be to use a string level. I watched a couple of my neighbors measure their grade this way. I’m not sure I would have the confidence in this approach though if there wasn’t a somewhat noticeable natural grade already that you could easily follow.
Check For Underground Utilities
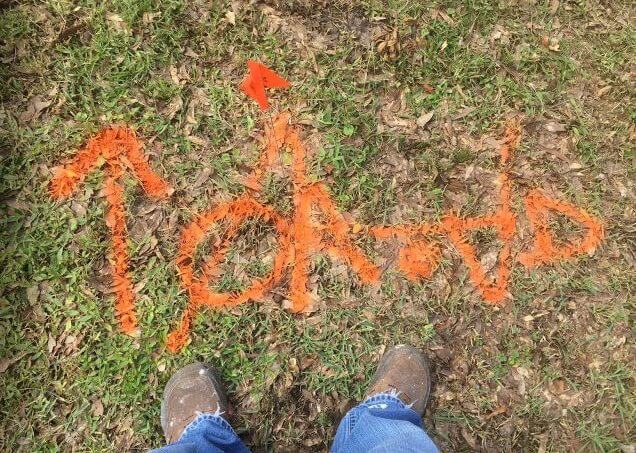
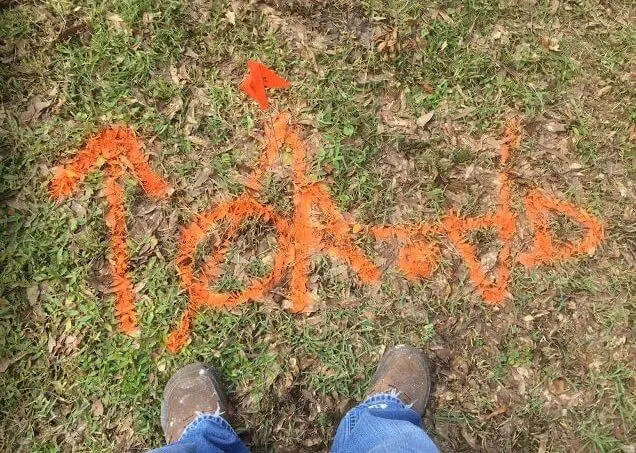
Underground utilities marking by 811
Before you begin digging, it is critical that you ensure that there are no underground pipes or wires running across the area you will be working in. Fortunately, this is simply a matter of dialing 811 in most areas to have someone come out and mark any underground lines that you will need to avoid.
Need proof? Here’s my brother-in-law trying to stop
Trench With The Grade
There is more to installing a french drain system tha simply digging a trench line. The key is to make sure that a continuous slope (or grade) is present throughout the system.
The area where standing water exists should serve as the high point. You will want to ensure that the drainage pipe leading from this point has at least a small slope to ensure that water runs effectively toward the endpoint.


When it comes to digging the trench, you can do this with a plain old shovel and muscle power if your soil is not too hard and the distance is not far. In both of my cases, it was more sensible to use a small excavator.
Note: The grade doesn’t have to be precise. You can always backfill the trench where you need to in order to ensure a proper grade. Just make sure that the overall slope ensures water drainage in the direction you want.
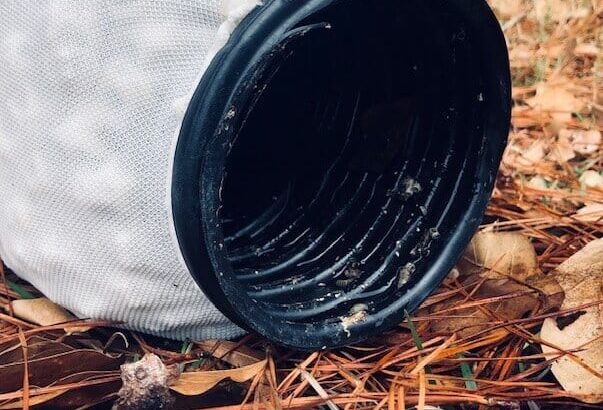
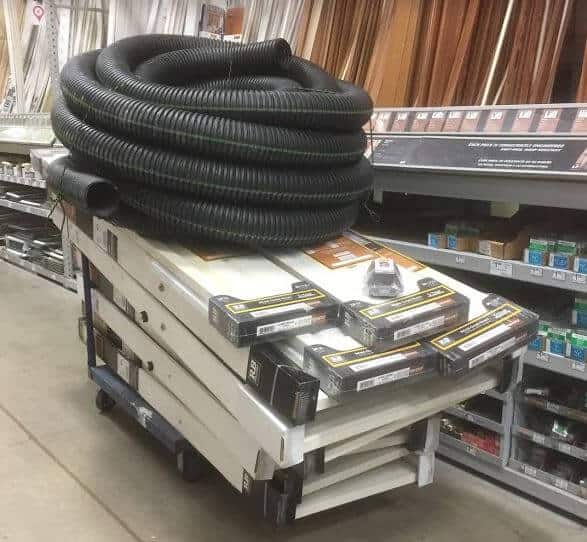
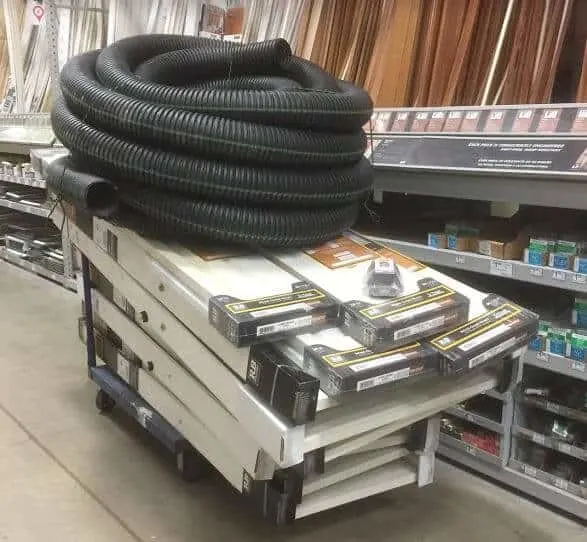
Install EZ Drain French Drain piping
Make no mistake, I carefully weighed my options when it came to the type of french drain system that I wanted to install.
With the rental house, which we tackled first, I used traditional flexible corrugated drainage pipe. We went to Home Depot and purchased around 200 feet of it (along with other supplies we would be using in the renovation of this house).
We also had to haul a couple of trailers filled with rock. The rock could have been carried in one trip but the weight prevented it.
The way a traditional french drain system is installed involves first lining the bottom of the trench with a semipermeable membrane fabric (this lets moisture through but prevents dirt from blocking the drainage holes in the corrugated piping).
Next, you spread a layer of rock, then lay the drainage pipe. Finally, you cover the piping with more of the semipermeable membrane, possibly more rock, and finally backfill with dirt.
I didn’t’ get any pictures during this part of the process because we were frustrated and exhausted from the process. I will never do it this way again.
The EZ Drain system is totally different.
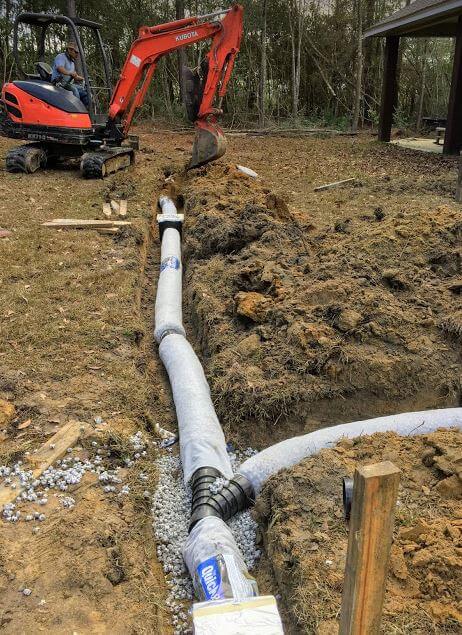

You can see here where we filled part of the hole with some of the loose styrofoam fillers. We tore one apart because my son wanted to see how they were made. 🙂
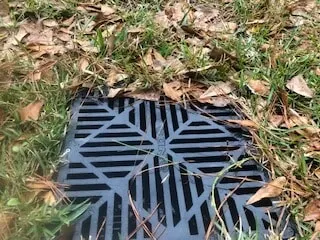
I installed drain basins in the two lowest areas where I wanted to stop the issues of standing water.


Cover It Up And Forget It!
With the EZ Drain system, all that is left is to backfill the hole and level out the dirt. If you used a shovel, you can save the look of your lawn by replacing the sod. In our case, since we’d used an excavator, I planted some grass seed to help the process along.
Summary

In the end, we were pleased with the results and look of both finished projects. In each case, the water drained effectively and we eliminated the standing water.
The difference was in time and effort.
It’s worth noting that there was a slight difference in cost. The EZ drain system costs significantly more than traditional flexible corregated drain pipe. However, by the time we factored in the cost of rock and other materials, as well as the fuel and effort required to transport the rock, it was a wash. We paid a little more overall for the EZ drain system but the speed at which it installs plus the savings on our backs from the manual labor of the traditional system, more than made up for the additional cost.
I have absolutely no regrets and can say with absolute certainty that, if ever required to install a french drain system in the future, the EZ drain system will be my go to product.
You can find the EZ drain products at your local Home Depot or online at their website.
If you’d like to read more about the EZ drain system, check out the manufacturer’s website.
If you would like to make your home more energy efficient, be sure to read Is My Home Energy Efficient? Here’s How To Know!
As a homeowner, I am constantly experimenting with making the structure of my house more energy-efficient, eliminating pests, and taking on DIY home improvement projects. Over the past two decades, my family has rehabbed houses and contracted new home builds and I’ve learned a lot along the way. I share my hard-learned lessons so that you can save time and money by not repeating my mistakes.
Leave a comment
You must be logged in to post a comment.