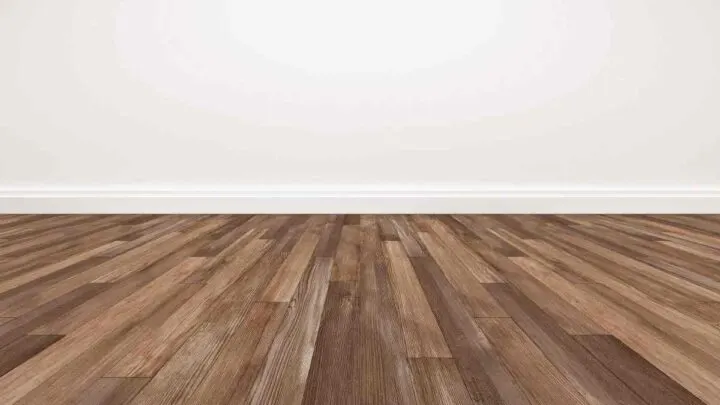
Hardwood floors are dang popular, and it totally makes sense: they look beautiful, sound pleasant, and make any house feel more homely. These durable floors are versatile and suit practically any architecture, interior design, or lifestyle. Unfortunately, however, they aren’t invincible, the edges of hardwood floors curl up when the wood gets wet.
Cupped hardwood floors can return to normal depending on the type, extent, and duration of water damage. Wood that has become cupped over a few days is more likely to recover than wood that has been cupped for months.
This article will detail why hardwood floors become concave and what you can do to fix floors that have already become cupped. Additionally, we’ll also explain steps you can take to prevent hardwood floors from cupping in the first place.
Causes of Hardwood Floor Cupping
Water is typically the main culprit of hardwood cupping, but heat can also cause wood to warp. They both cause wood to swell, creating an uneven pressure that pushes the edges of the floor upward and the center downward.
Water Makes Wood Swell
Sinks, pipes, and other water leaks can spill water onto your unsealed floor. The wood then absorbs this water and experiences swelling, warping the floor.
Water can also seep through the sealing on wood floors, but it’ll do so at a slower rate than in unsealed wood. This means that sealed floors aren’t immune from water damage, only less likely to experience extensive damage, prolonged water saturation, and permanent warping.
Wood Also Absorbs Water Vapor
Not only can wood absorb water that has collected into puddles, but it can also absorb water molecules floating around in the air. That’s why hot, humid rooms are more prone to cupping than cool, drier ones. It’s also why controlling the humidity of your home is so crucial.
How To Flatten Out Cupped Hardwood Floors
Solutions differ slightly based on if you have a standard or engineered hardwood floor, but the advice below will apply to most hardwood floors. Keep in mind that floors exposed to a water leak for a few days will be more likely to recover than those exposed for weeks or months. Whether or not you need a total replacement depends on the extent of the damage (source).
If It’s Wet, Dry the Hardwood Out
As long as the wood is wet, it will remain swollen. The planks will continue to press up against each other and look concave until the water has fully evaporated.
First, eliminate the source of water. This could be a sink, bathtub, some plumbing, or a small spill. Plug up any leaks and clean up spills with towels.
Then, place a dehumidifier in the affected room or rooms and put it in the highest setting. This will remove excess moisture from the air and keep the wood from reabsorbing evaporated water.
You can then use fans—also on the maximum setting—to dry the floor. Ensure that at least one fan covers each part of the affected surface area.
Keep the fans and humidifier in the affected area for a few days to weeks. However, if it still hasn’t dried out on its own by then, call an expert to examine it.
If It’s Also Hot, Cool the Room Down
Humidity enhances the thermal expansion of wood—that is, wood swells more in humid heat than it does in dry heat. Therefore, cooling the room down will alleviate some of the stress on the floorboards, even if they’re still wet.
Once the Wood Has Dried and Cooled, Sand It Down
Only once the wood is dry should you start thinking about sanding it. If you sand it while it’s still wet, the wood will just warp again—and on top of that, the next time you try to fix it, the sanded boards will be completely unusable.
How To Prevent Hardwood Floors From Cupping
You know what they say: prevention is the best medicine! This is true for hardwood floors, too. The best way to treat cupped floorboards is to prevent them from cupping in the first place. It’s much easier to prevent something from happening than to treat it once it’s already occurred (source).
Properly Clean Your Hardwood Floors
Soaking your hardwood in loads of soapy water will cause it to warp. Mopping with thin, permeable liquids that take a long time to dry can also cause boards to shift. So, how do you keep your floors clean without altering their shape?
- Use a dust mop and/or a vacuum cleaner to collect dust and other debris from the surface of the floor.
- Use cleaners that evaporate rather than those you need to wipe off. That way, you don’t need to use as much liquid—including water—when you clean.
- Only clean when necessary, as this also minimizes exposure to water and other liquids.
- Do NOT use a steam cleaner, as this will just infuse the wood with water vapor and practically guarantees to warp.
Maintain Your Building’s Water Infrastructure
Given water’s prominent role in many warped floors, it’s worth keeping the following advice in mind:
- Repair leaks as soon as you find them.
- Clean up spills as soon as they happen. Don’t wait, as wood will absorb any liquid you leave behind for an extended period of time.
Mind the Humidity, Air Conditioning, and HRV
Also keep an eye on your building’s environment and:
- Keep the humidity below 50 percent to prevent the wood from absorbing water vapor.
- Run your air conditioning unit when the weather heats up to avoid heat-induced swelling.
- Turn off the Heat Recovery Ventilation system so that it doesn’t keep bringing humid air from the outside to the inside.
Conclusion
Cupping in a hardwood floor can be stressful to deal with, particularly if it’s new or in a visible area of our home or building. Fortunately, you most likely won’t have to replace your floor simply because the sink leaked water for a day and warped the floor around it.
Additionally, the solutions for you to dry your floor—a dehumidifier and fans—are pretty practical and typically much more affordable than a brand new floor. So don’t despair: chances are that you’ll have your old floor back in no time.
Recommended Reading:
- Floors Feel Damp? Here’s 4 Likely Reasons
- Do You Install Baseboards Before or After Flooring?
- Can Wall Tiles Be Used On The Floor? The Truth Revealed
As a homeowner, I am constantly experimenting with making the structure of my house more energy-efficient, eliminating pests, and taking on DIY home improvement projects. Over the past two decades, my family has rehabbed houses and contracted new home builds and I’ve learned a lot along the way. I share my hard-learned lessons so that you can save time and money by not repeating my mistakes.

