Choosing the right size of a roofing nail is important to ensure that a roof stays intact for a long time. Roofing jobs need to be done with proper planning to avoid nails coming off or extracting on their own over time.
Roofing nails should be 1-1/4 to 2 inches long to ensure that it sufficiently penetrates and embeds in the roof sheathing. To calculate the appropriate roofing nail length, add the thickness of the shingles and underlayment to the thickness of the sheathing.
Nail shank diameter should be at least 11-12 gauge for roofs.
Nails for roofs come in a range of varying sizes and lengths to secure roof tiles, metal sheets, or shingles on the roof in place.
The correct installation of roofing nails is important for a house because these installations determine how waterproof the roof would be and also to ensure the long term overall protection it will provide.
Calculating Proper Roofing Nail Length
The length of the roofing nail is determined by the material it will be drilled into. Some materials require longer nails, while others do not need a lot of penetration and work with shorter ones.
- Some materials like sheds or garden houses have roofs which work just fine with less penetration of the nails.
- For materials like solid wood, plywood, OSB, and non-veneer wood decking, the nail should go in 19mm.
- If you are installing thick shingles or doubling the roof by adding shingles over shingles, then the nails need to be at least 30mm to 35mm long.
Nails that are properly seated will penetrate the roof deck about three-fourths of an inch. If the roof deck itself is three-fourths of an inch thick, then the nail should penetrate at least one-eighth of an inch through the roof deck.
Problems with Roofing Nails and Installation
A number of problems can occur with wrongly sized nails installed in roofs. The structure of the roof, alongside its attachment to the house, can be affected.
- Nails not drilled properly can cause materials such as wood and timber to splinter over time. The gaps and cracks created by those splinters can be problematic because they would allow things to pass through. Another problem would be moisture that can form in the gaps and deform the shape of the wood or cause molds to grow in these spaces.
- Using longer nails than required when driven into roofs may cause cracks and those nails to loosen and come out.
- If nails are overdriven, then there is likely to be breakage in the shingle. They may also go all the way through and form holes in the shingle, making it unworthy of use.
- If nails are under driven, they can create air bubbles making the roof vulnerable to wind damage.
Installing roofing nails seems like a small task; however, if not done correctly, it can lead to costly expenses in the long run to fix and redo. Gaps, holes, or cracks made because of improper installation can cause expansion or contraction in the roofing material, which can damage the entire deck.
Tips For Best Performance With Roofing Nails

Apart from using the right size of a roofing nail to install shingles, other things need to be kept in mind as well.
- Nails are galvanized to make them corrosion resistant. Good quality corrosion-resistant nails should be used because corroded nails can come off or cause development of rust in the shingles.
- Ensure proper placement of shingles and their alignment before drilling the nails.
- If there are cracks or holes in the roof deck, then the nails should not be installed on such surfaces.
- Do not use nails that don’t comply with the size and type as specified in the roofing instructions if you’ve been given any. Also, make sure not to use more or less number of nails per shingle than specified.
- Under driven nails should be drilled down until they are at the right length inside the roof deck.
- Overdriven nails need to be removed altogether. If the nail has done damage to the shingle, it should be replaced along with the shingle.
Keeping these tips in mind before starting a roofing job can help eliminate a lot of hassle and problems that otherwise may occur and delay one1s work.
Tools to Use for Roofing Nails
Apart from the nails with their specific lengths for the job, make sure to gather the appropriate tools to work.
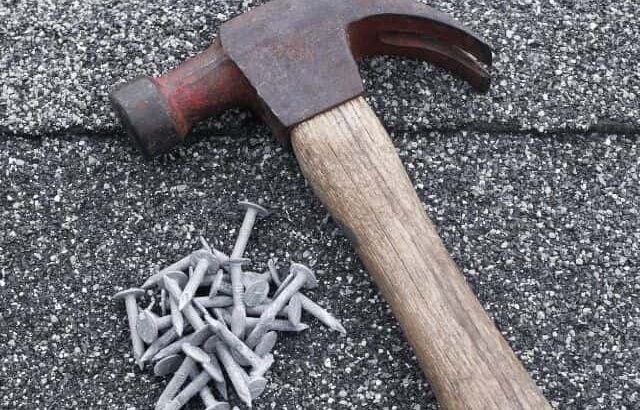
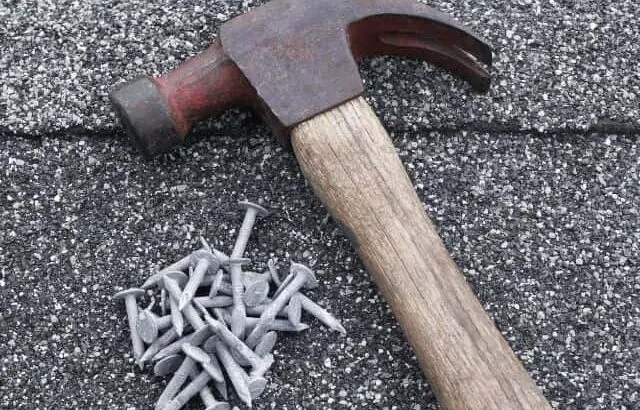
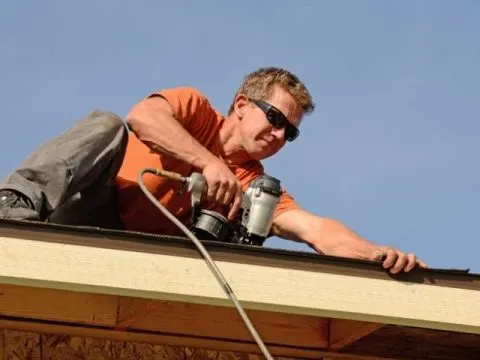
Hammers, Pneumatic, and Cordless Nailers
Roofing nails should be driven by a hammer into the shingles by hand. They can also be driven with a pneumatic roofing nailer (link to Amazon), but this tool needs to handled carefully and adjusted properly to avoid overdriven or under driven nails.
A cordless roofing nailer (link to Amazon) is also a good option. It works on batteries just like cordless leaf blowers and string trimmers and its handling is convenient as it keeps one hand free.
Even with a cordless or pneumatic nailer, a roofing hammer will still be required to seat occasional nails that don’t drive in flush.
Roofing Knives
This tool is important to shape, cut, or trim the materials being used according to your needs. You’ll certainly want to make sure you have a roofing knife in your inventory.
Ladder
This tool is vital for a roofing job to climb up to the workspace. It is also good to have roof ladder hooks to secure the ladder in place and avoid accidents.
Cleanup Tools
Roofing jobs can get messy, and after completion of the job, you should use clean up tools like a broom or a magnetic sweeper. It can help clean up loose nails, metal shavings, and other metallic remains unneeded on the roof.
Types of Nails for Specific Materials
Different types of nails are manufactured to attach varying roofing materials. These include screw shank nails, ring shank nails, and smooth shank nails.
Screw Shank Nails
These nails are used for roofs that are wooden. They have a flat head and a diamond tip. The twisted shank helps grip the wood more securely and keeps the roof and shingles in place against winds and rain.
Smooth Shank Nails
Smooth shank nails are made with aluminum, copper, or stainless steel, and they are generally used for asphalt or slate shingles.
Ring Shank Nails
Ring shank nails have slightly larger heads than typical nails. The big heads ensure firm grip of the roof. These are made up of galvanized carbon steel and are zinc plated.
These are good options for asphalt roofing because they can withstand bad weather and make the roof stable. Ring shank nails don’t have diamond tips like screw shank nails, so they aren’t as sharp and put more stress on the roofing material.
Conclusion
Roofing jobs are technical ones and require proper skill, tools, and knowledge. Knowing the correct length of nails for the material of your roof makes the job easier and more long-lasting.
Along with that, make sure to educate themselves with things like shingle placement and other common mistakes that may occur during roofing to make sure the roof and nails are protected and ensure durability.
Poorly or incorrectly hammered nails and ruin roof structure create gaps in the roofs, inviting other problems for the homeowners.
Correctly placed nails of appropriate lengths not only protect roofs from damage; their finishing and final look makes the roof more presentable and enhance the look of the overall house.
Related Reading:
Can Rolled Roofing Be Painted?
Can You Install Metal Roofing Directly To Plywood?
What Temperature is Too Cold for Roofing? The Truth Revealed
As a homeowner, I am constantly experimenting with making the structure of my house more energy-efficient, eliminating pests, and taking on DIY home improvement projects. Over the past two decades, my family has rehabbed houses and contracted new home builds and I’ve learned a lot along the way. I share my hard-learned lessons so that you can save time and money by not repeating my mistakes.
Leave a comment
You must be logged in to post a comment.